Saturday, 28 March 2015

Mini Paintings, Mini Flowers and Plants, and Mini Chrysnbon Cane-Seat Chair.

Hello everyone! Another long gap between posts I know. I have been working flat out on my novel. I've written over 78,000 words now. Go me! But as I have been putting so much effort into writing that, I haven't gotten around to blogging...
Anyway, now that my excuses are out of the way, I thought I'd update you on all the little projects I have been working on.

I've already shown you some of the mini paintings that I've made but have included them here too so everything is all neat and tidy.

Last week I was excited because I had a request (through my Etsy store) for a custom miniature painting from a lovely lady in Texas. Here is what I came up with and I was so happy because she loved it. For anyone who is interested in purchasing any of the miniature artwork below, I'll add the links above each one to make things easy for you.


So! Here are all the little mini things I've made over the last year. Not that many all together, but I love each and every one of them.

I adore this little pansy painting I painted last year. I think it would look lovely just about anywhere in a dollhouse, but my pick would be a bedroom.


And these rose ones are so sweet, it's hard to choose a favourite!


I think this little love painting would look cute in a nursery.


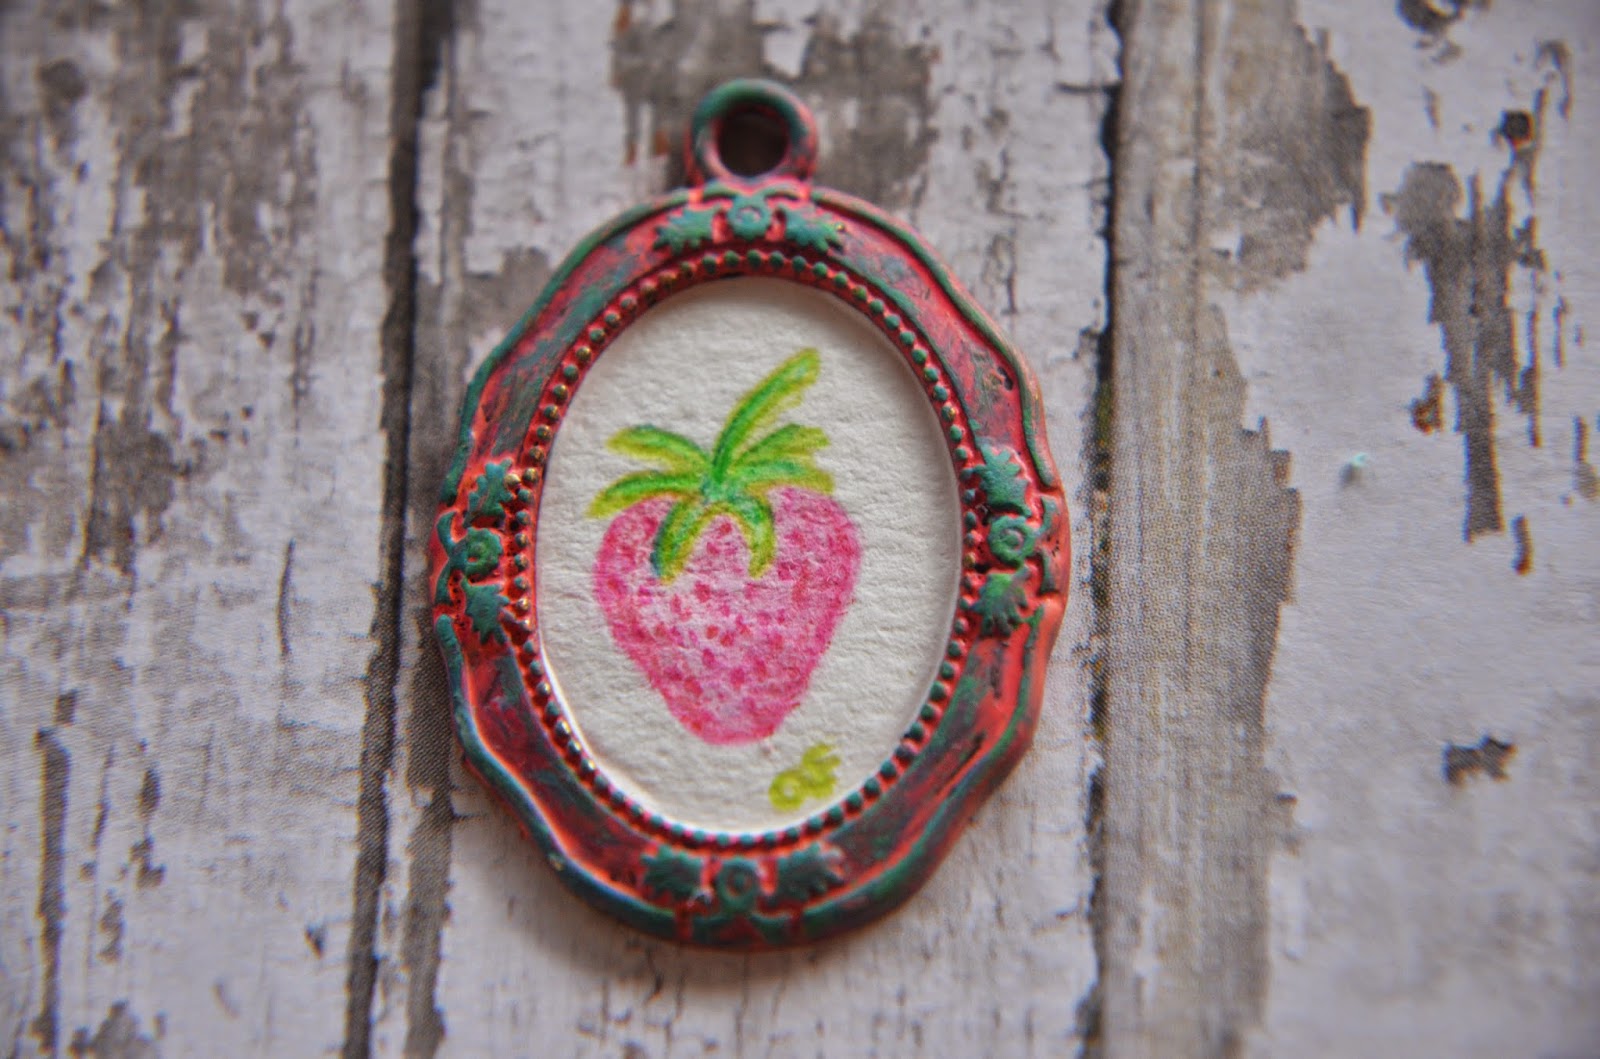
And maybe the strawberry one would be good for a kitchen.

This rose one is one of my favourites because I adore the colours and the little frame inside the frame is just lovely. 


This love one makes me think of a sunny spot near the kitchen bench.


And maybe blue bells in the bathroom would be nice!


I've also made some wooden bits of wall art using a combination of paints, scrapbooking papers and varnish.


And have made some framed pictures with scrapbook paper inserts.


And that is all the mini paintings to date. As well as the life sized water colours I've painted, I also painted my surfboard using Posca paint pens.
I love the way it turned out.


I made some mini peonies from a kit I bought off Esty from The Miniature Garden. Actually all the flowers and plants below are from there so if you want to try making any of these yourself, I highly recommend her lovely kits.


I love the dainty way the peonies tuned out. They look so delicate.


You might have seen the miniature poppies I made because I used them as the subject for the photography tips blog post. But here they are again anyway because they are just so cute. 


I also made some Californian Poppies. I have never seen this type of poppies before in real life but I adore the happy colour of them. 


Aren't they cheerful!


And then there is the wisteria kit. It really is a project all on it's own. It takes simply ages to make the flowers but they are very lovely. It's going to be so satisfying seeing it go up on the house. But who knows when that will ever get to come out of storage!

This is all the bits you get in the kit.


Here are the centres of the flowers made up.


And painted purple.


And this is what they look like with the flower petals stuck on. When I have them all done, I might paint them (very carefully) to add a bit of something extra.


And finally I made this delightful little fern. The leaves are laser cut and they look so realistic. My dollhouse is going to look so great with all these lovely plants in it!


I ordered this Chrysnbon kit online. It's the first plastic furniture kit I have made. Well actually, the first furniture kit full stop!


All the pieces come like this. Opening it reminded me of when I was little and used to get toys at Christmas (or my birthday - which is only 3 days apart from Christmas!) and they would have bits in them that you had to twist off the plastic like this. Oh the joy of it! I LOVE assembling toys. When something says "Some assembly required" my eyes light up.


It actually took quite a few attempts to get the chair to actually stay together because at first I didn't have the right glue. All I had was tacky glue, which was difficult to use and then, once the glue was dry, the chair would fall apart with the lightest touch.
I only have a push bike in Fiji to get around, but I peddled off down to the local store and they had some super glue, which was only FJD$1.50. So I thought I'd give that a go and luckily it worked. So probably after the fifth attempt, the chair stayed together. Hooray!


I painted it to look nice and shabby instead of using the stain that came with the kit.


And this is the finished piece. It looks quite grey in this picture but it is more turquoise/teal in real life. I'll have to include it in another photo in a later post with better lighting.


I liked making the mini chair so much I decided to order some more kits all the way from Canada (the first one was sold second hand from New Zealand). They haven't arrived yet but I'm hoping they will come soon because it's been over 5 weeks since they were shipped. I ordered something from Canada last year too, to get shipped to a friend in New Zealand and that took ages as well though so perhaps the postage from Canada is just slower than form anywhere else in the world...

Anyway, so I haven't been totally neglecting miniature making! And I have even been working on something else a little special too. But you will have to wait for a later post to hear about that as it's not finished yet!

Love and good wishes to you all!

xo Amy


Friday, 20 June 2014

How to Take Photos of Miniatures - 7 Tips.

As I have been taking lots of photos of my miniature paintings to put in my etsy store, I thought that perhaps some of you may be interested in how to take photos of miniatures as it can be tricky.


 There are lots of ways you can go about photographing miniatures, but here is what I do.

1. Equipment.

I use my digital SLR camera for taking photos of minis. I normally just leave it on auto setting with no flash. If the miniature is something very small, or I need a close up of something then I use magnifying filters. 
These are a lot cheaper than buying a special macro lens (unless you can find a cheap one second hand). I have seen that you can also buy little macro lenses for your iPhone so if you don't have a digital SLR you could try that as alternative. 
I think it cost me about NZ$45 for a set of 4 stacking filters. These come in a folding case and are in strengths of +1, +2, +4, +10. So you can stack them on the front of your lens and have anywhere from +1 to +17 magnification.  I mostly use between +1 to +4 but the +10 can be useful for super close ups. 


As you can see they look a lot like a magnifying glass.


2. Magnification.

One thing you need to take into consideration is that the higher magnification you have, the shallower your depth of field. For those of you unfamiliar with that term, it just means that less of your photo will be in focus. I quite like the look of photos with a shallow depth of field as I think it makes the photos look more intimate. It also helps you to draw attention to what you want the viewer to look at or notice. 

For instance, in this photo the flowers are in focus but the vase is not. 


Try different magnifications. While the previous photo was taken with +2 magnification, the following photo is taken with +10 magnification. I also placed the flowers in direct sunlight to show the texture of the paper better. The bad thing about getting too much magnification is that you can see imperfections that are not noticeable to the naked eye. 


3. Lighting.

 I don't use any special lighting equipment but you can of course get more technical and look into that if you want. You can also play around with the settings on your camera to get different results.
Here are some tips on using natural light.

Think about where the lighting is coming from. 
In this photo the lighting is coming from behind so the colours in the flowers are lost. 


Where the light is coming from is important. But so is the quality of light. 

This photo is back-lit, but the light source is not in the photo and is not shining directly on the item - so the photo is slightly washed out, but not completely silhouetted.


This photo is lit from the front (but is not in direct sunlight) and therefore the colours are much brighter (although the focus is not in the right place). 


And this photo is in direct sunlight. You can see it has a distracting shadow and the colours are less subtle. Overall it has a harsher look.


I find that a front-lit item in diffused light is best and I like to use natural light over artificial if I can. So I normally take my photos in the shade next to a window. (I hope that makes sense!)

4. Background and Format.

The background of your photo is important. I normally use scrap book paper as a background for small items.


Try different angles to see what looks good.

And try different formats too. Sometimes a photo that looks average in landscape format looks much better in portrait format or vice-versa.


Sometimes, with backgrounds, things that you wouldn't expect to look good do. So play around. 


The other thing you may like to do is include the item in a miniature scene. So you can photograph it in your dollhouse or room box or set up a mini scene especially for the purpose. I would do this if I had more doll house stuff with me. 

I took this one before we came up here. 


5. Composition and Focus.

I think carefully about the composition. I normal compose shots of items with the item either in the centre, or on a third (using the photography rule of thirds).

Focus on what you want to draw attention to in the photo. Is there a special little detail you want to show? Do you want the whole item in focus? The background in or out of focus?

Try and fill up most of the frame with your item unless it is included in a scene. You want people to be able to see it. It does not look good to have a tiny little item with heaps of space all around it. 

I also pay attention to the edges of the picture. Make sure you don't have distracting bits in the corners, or really crooked horizon lines. It's like when you take a picture of a person, you don't want to later discover they have a tree growing out of their head or something else distracting like that. You want the focus on the thing you are photographing and everything else should compliment that.


6. Scale.

You may also like to include a photo with something to show the scale of the item. 

I know that many people use coins but the only trouble with them is that not everyone knows how big coins from different countries are exactly. 
For example, I don't think I have ever seen a U.S. penny in real life. I have seen a euro 1c though and an old N.Z. 5c (which we don't have any more). The 1c and the 5c are both quite different sizes and I have no idea where the penny would fit into the scale. 
Anyway, my point is, if you are wanting people from international destinations to be able to understand the scale of your item, while they may get the general idea from a small coin, you could use something that is internationally recognisable instead. I have been using a pencil. You want your pencil - or other thing you use for scale comparison - to compliment the item you are photographing. So don't use an ugly old chewed up one. Use a pretty one in similar or complimentary colours. If you want to use a ruler to show exact scale use one that fits in with the colours and composition of your image. 


Even when I take photos of flat items, I normally take shots on a variety of backgrounds, from different angles, and from the back of the item.


7. Selection.

Once you have decided which magnification to use, which lighting looks best, which format and background you like, and how you want to compose your picture, take a few more shots to get one you are happy with. 

I think this is my favourite one. The focus is nice, the background colours are complementary, and the lighting shows the subtleties of colour in the item.


And lastly, if you are displaying your photos in one place (like on a blog or in an etsy store for example) it is best to make sure all the images look good together too. Have a common theme or colour scheme or 'look' that you stick to. 
It's like doll house rooms. While each room may be different, a dollhouse looks best (in my opinion) if all the rooms look good together too. Because while you will be looking closely at each room individually, you also look at them all together when viewing the whole dollhouse.

To sum up:

1. Equipment: A digital SLR camera. Magnifying filters. Scrapbook paper. Item to show scale.
2. Magnification: Use magnification appropriate to what you want to show. The more magnification the less depth of field.
3. Lighting: Natural light. Diffused (not shining directly on item to be photographed). Front-lit.
4. Background: Use scrapbook paper or a miniature scene. Format: Experiment with portrait and landscape. Don't do diagonal, that just make people turn their head to the side.
5. Composition: Center item or use rule of thirds. Check edges for distractions. Focus: Focus on the part of the item you want to draw attention to.
6. Scale: Show scale with something internationally recognisable like a pencil.
7. Selection: Select the best image/s and rephotograph where necessary. Make sure all your photos work together.

I hope these tips are useful to someone. Any questions please ask. :)

Also please feel free to add your own tips and tricks in the comments section. I'd love to learn what you do too.

xoxo Love Amy