Thursday 24 March 2011

Oh so many window frames!

It has taken me such a long time to prepare all the window and door frames! It took the best part of 2 days to sand all the edges as well as pop them out of the wood and label them. Then I had to paint them. I tried using a spray can which ran out after doing hardly any of them so had to go back to the old fashioned way and do it by hand. That took hours! I had to do 3 coats of paint and there are heaps of them! I'm going to go and count how many there are in fact... There are 335 pieces of tiny window framing!

The process in pictures.

Here are some of the pieces of plywood that have the parts punched into them.


I had to write on the back of every piece what it is so I could recognise it later.


Next I punched the pieces out of the wood and sanded them on every edge.


And then I laid them all out in piles of pieces that are alike.


On the day I started painting I first laid all the pieces out on a plastic party table cloth.


Then I painted. And painted. And painted some more until I they looked like this.


Now my next job will be to peel them all off the plastic table cloth and hope that the writing on the back is still readable! Then I get to start gluing them onto the walls! Yay! See ya.


Friday 11 March 2011

Little stairs, little walls, little window frames.


The floor is on and I have built the little stairs. However the ones going from the ground floor to the 2nd floor have a slight twist to them or something making them slightly uneven at the top. Also with the combined effort or me, my dad ( a builder) and my friend Tim (another builder) we can't figure out why it has happened so hopefully it comes right when I add the next floor. I am going to glue the steps on at that stage incase any last minute twisting needs to take place. 


Here are both of the stair cases. The one I am holding goes from the second floor to the third floor.

I sanded and shellacked all the walls with door and window holes in them. Here they are leaning up against a book shelf I made a few years ago.
Bethell had a look too.
I also traced around all the wall parts to help with wallpapering etc latter. Like wall patterns. Incase it is too tricky to figure out how to cut the wallpaper.
I have sanded this many of the window frames so far. And written on the back of them all what parts they are!

And have this many to go!
I have also made a first attempt at miniature food. I think they look pretty realistic so that is good. Here are my 21 tiny potatoes and 7 tiny carrots. Can you tell 7 is my favorite number?
See ya later. Have a lovely weekend!


Tuesday 8 March 2011

In the beginning.

This is my first time writing a blog and my first time building a dolls house so hopefully both are fun. I am building a Garfield Dolls House from a Greenleaf kit.

 I could not find much available kit-wise to buy in New Zealand so looked on the good old internet and found a house I really liked but it was only made in America. To start off with I thought I was being so clever as I had found a really good price for the kit. Even though I have never built a dolls house before I thought I'd leap in at the deep and and give it a go on a dolls house mansion as I just thought the Garfield was so super cute! I nearly decided to go with the Butter Cup Cottage instead which would have been a lot easier to start with (and a lot cheeper to get posted to New Zealand!!!) So, I ordered this kit with free postage within the USA and set up a freight forward address with a company that does that. I had never heard of freight forwarding either but felt proud that I had found this all out and set it all up. Unfortunately in all my cleverness with finding a good price and getting the freight forward address I had failed to take one thing into account... I had not considered the weight that a dolls house would be and the consequential postage fee. 


So when the dolls house arrived at the freight forward address it was then forwarded to me here in New Zealand and my credit card was billed and it was SO SOOO expensive!!! It was more than what the house cost. In fact I think it may have been double! So I got my dolls house kit but also learnt a really expensive lesson about checking the postage on things before I buy them!!!


But anyway. After feeling rather silly about the postage debacle and the 'not such a very good deal after all' dolls house, I got down to business and opened the box (eagerly) and decided to start at the start and build the foundation. 


After a little humming and harring and asking Steve (my boyfriend) "Do you think I should glue now? It says don't glue unless it says to glue in the instructions. But other wise I don't see how this is all going to stay together?!?" several times and in the end gluing it (Good idea - It did need the glue, not sure why that was missing from the instructions...) I finally ended up with a sound foundation.


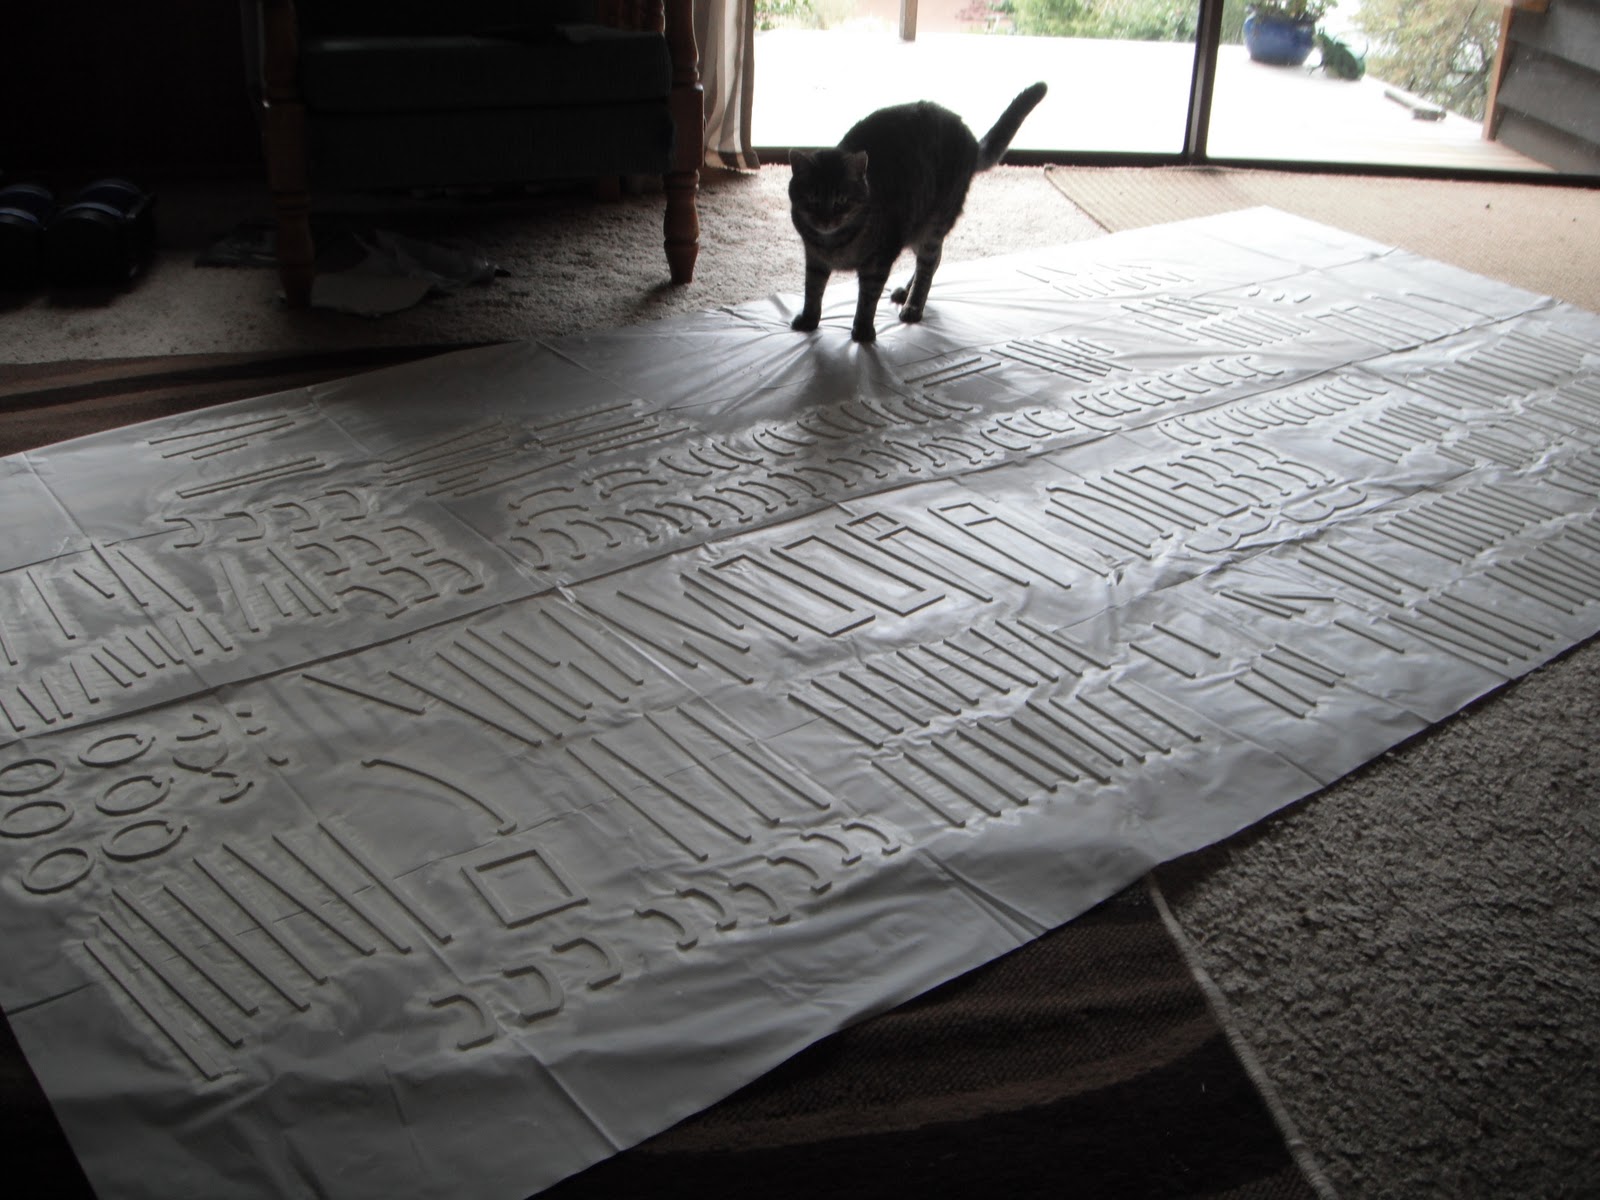
This is Bethell my cat checking out my handy work. (She is named after a beach near where I live that I like to surf at.) 


Bethell is sitting on the floor before I have attached it to the foundation.
I have done a little bit more but I will add that next time. See ya, love Amy.