
This post has been a long time coming. I have been so busy working on my dollhouse that I never quite get around to blogging...
I've been adding some details to my dollhouse which has been fun!
I also painted this painting to be the logo for my business of selling art and now dollhouse miniatures. I just love making them so much!
I've been adding some details to my dollhouse which has been fun!
I also painted this painting to be the logo for my business of selling art and now dollhouse miniatures. I just love making them so much!

Other progress includes putting the corner boxes over the weatherboards.

Gluing on more weatherboards.

This is how I get the right angles in tight spaces. I just use a piece of paper and fold it in the correct shape for the angle.

I then use the paper as a template to cut the cardboard. (I normally cut it slightly longer than needed incase minor adjustments need to be made.)

Then I check it fits perfectly before I apply the glue. If I've botched it up I save that piece for the next weatherboard up.

I'm super happy with the way the weatherboards are turning out. The Garfield Dollhouse is really huge and It has taken a lot of card to cover it (and a lot of time to cut and glue the card), but it has been so worth the effort!


When I had completed all the weatherboards except those that are above the porch roof I painted them with the blue paint.

Isn't it cute!


Bethell was being helpful as usual...


The next big job was sanding and painting all the porch railing pieces.
Before I could do that though I had to go and buy some more of the white paint (called old whiskers) but unfortunately my local Mitre 10 does not sell it anymore because it is a British Paint colour which is now exclusive to Bunnings rather than Mitre 10! Grrr. To cut a long story short, after several weekends wait and several unsuccessful driving missions I was finally able to acquire some.


I took a photo of the label just in case.

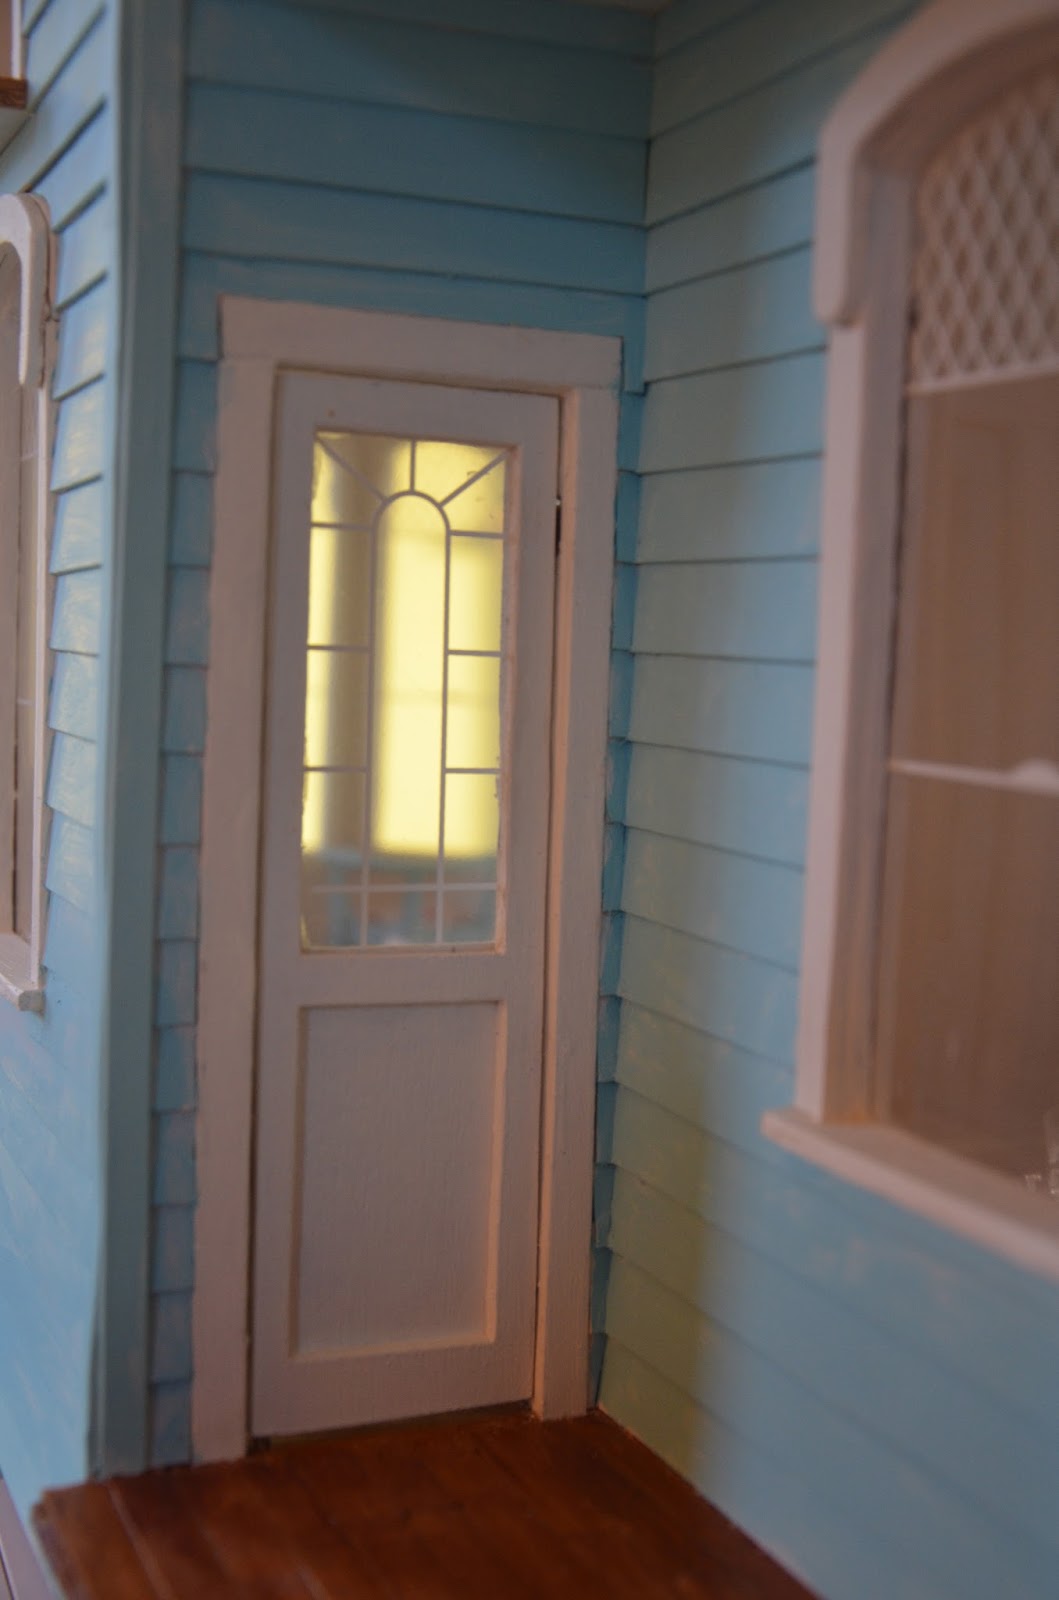
In between waiting for paint to dry I installed the kitchen door (a fiddly ordeal with a charming finish).

And then the front doors.

Which was tricky.


Especially because I had to line up the two doors.


Yay! It looks cool though!


Then it was time to paint the backs of all the railings...

I like to paint things like that (fiddly things) on old shopping bags cut open.

A good tip is when one side of the railing is finished and dry, peel it off, sand the blotches of paint off the back and flip the bag over (this prevents any paint on the bag getting stuck to your nice paint job).


I began gluing on the trim.


In between coats of paint...

Bethell enjoys sitting on the instructions when I am trying to read them.

And finally it was time to put the railings on!


This part was so fun because you can really see the progress happening.


Next step was putting on the porch roof.


Then laminating the trellis together with some tacky glue.


I use these paper clamps to hold the bits together while the glue is drying.


Then... MORE painting!

I painted the base of the house a dark charcoal colour so that when the trellis goes on top it looks as if it is the dark underneath of the house.


I glued the roof to the removable bay window.

Then attached the trellis. Cute!


Finally it was time to put on the rest of the weatherboards.


There were a few tricky shapes to fit around.


But I really love the way it has turned out! Can't wait to paint it!

You can see here the difference that the corner boxes make.


This is what the house currently looks like.

I ran out of cardboard when I only had about 4 or 5 rows to go! Grrr!

Look! Just the top of the tower to go! Boo hoo!

So I decided to make my first miniature artwork.
I prepared these frames.

And painted my first mini watercolour. I love the result. I hope other people will too so I put this one for sale in my etsy shop. My first mini for sale. Exciting!

In the mean time my kitchen table is enjoying the view!


Thanks for stopping by! I hope you didn't fall asleep after that super long post!!!
xoxox Amy
Dear Amy,
ReplyDeleteWow what a great job. I have the same doll house but mine is still in the box. I love to see your progress.
Greetings Dorien
Thanks so much! :)
DeleteI love your colours for the Garfield and your watercolour painting is very pretty too. My Garfield is ALSO still in its box lol.
ReplyDeleteThis house looks beautiful! You are so tidy and meticulous with everything. I love your new logo art too. Gorgeous post!
ReplyDeletehugs♥,
Caroline
Didn't nod off a bit. Too interesting what and how you did things. Love it so far. I have a 1 inch house to do and a 1/4 to do.... One of these days.....
ReplyDeleteYou talk about using "Card" I am unfamiliar with that. Could you tell me what that is please. I, too, am building a Garfield. You can respond to willow547@msn.com if you wish.
ReplyDeleteI used cardboard to make the weatherboards. The cardboard I used is about 1mm thick. I got it from a stationary shop. I used a paper trimmer (or a craft knife and a metal ruler for longer strips) to cut lengths that were 20mm wide and then when I attach them to the house I overlap them about 6mm so each weatherboard ends up being 14mm wide. I use a "story rod" made out of paper to mark out the 14mm intervals where the top of each new weatherboard should sit. I hope that helps. :)
DeleteI love the boards. That looks so pretty. The doors are gorgeous. The house is stunning. You are so meticulous that I can't wait for you to finish the interior. This will be such an incredible house. I love your cat!!
ReplyDeletehugs♥,
Caroline
Hi there, I intend to buy the Garfield house sometime this year and was also planning on covering the exterior with weatherboards. I came across your blog (and realised you're a fellow Kiwi!) and I really like the look of how yours turned out. I just want to know what kind of card you used and whether it warped or went slightly soft when you painted it? I wasn't sure if I should paint it before gluing it on. Also, do you have any tips on the ordering and shipping of the house itself? Trying to keep potentially very expensive costs to a minimum! :)
ReplyDeleteHi Jay, I used some card from warehouse stationary. If you look in the comments above, there is a reply to TheWillow547 which talks about how I made it. There is also an older post which I think has a picture of the barcode from the card. You could use that to order some of the same card from Warehouse Stationary. I bought it in big sheets (A1 I think or maybe A2) and it was sort of very slightly glossy on each side. I glued it with hot glue from a glue gun. It did not warp at all when I painted it. I don't think it went soft while I was painting it. I used quite a thin coat of paint to have a shabby kind of look. You could layer the paint if you wanted it to look neater. I think that the slight glossiness of the cardboard stopped it absorbing any paint and so that is why it did not warp of get soggy. I painted mine after it was glued on, so that it looked more like how a real house would. As for the shipping, if you see my first post, you will find that I paid heaps for shipping! But I'm not sure if there is a way to make the costs less. I used MyUS as a freight forwarding company as the site I bought the house from had free shipping within the US but did not ship internationally. (They also had the cheapest price for the kit itself.) However, you could see if it is available to buy from somewhere else in the world - I find that shipping from the US is very expensive compared to other places. If you have anything else you want to know, or there is something I haven't explained clearly, I'm happy to help! :)
DeleteHI Amy, I love your house and your blog. I just started the Garfield and Am living in the Netherlands. I wonderen how you have made the corner boxes on the house over the weatherboards. Kind regards, Ans (Joanna)
ReplyDeleteHi Joanna.
ReplyDeleteTo make the corner boxes I cut strips of cardboard (the same stuff I used for the weatherboards). I think the strips were about 5mm wide—I'm in Fiji and my house is in New Zealand, so I can't check it for you, sorry. But basically all I did, was cut the strips, then glue one on each side of the corner. Then I used some filler to fill in any gaps in the join. I hope that makes sense and is helpful!
Amy
I enjoyed looking at your pictures so much! I just started the Garfield this week, and I am going to be sharing my pictures on Instagram at adollhouseinmysuitcase These are so helpful to me as I am going to be kitbashing a little...so, the more pictures I can see to help me know what is possible is wonderful!
ReplyDelete